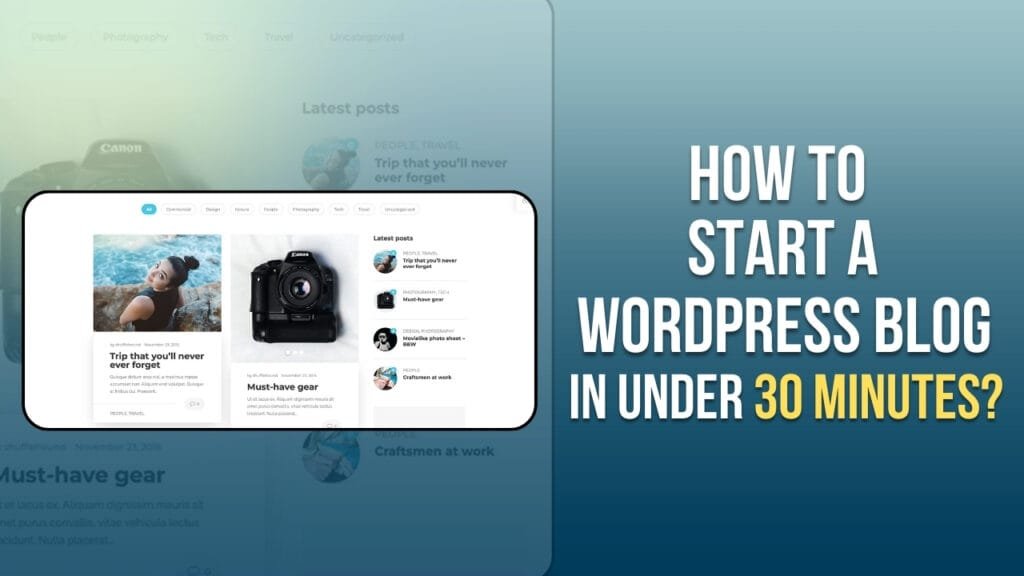
A blog from WordPress might just be the simplest fun way to share your thoughts and connect with like-minded people, maybe even starting a money earner. And though it sounds like such a big issue, getting a blog on WordPress is now easier than ever; you can set up in under 30 minutes. Here’s how you can get started fast.
1. Choose a Domain Name
Your domain name is your blog’s internet address. So, for instance, it would be something like “www.yourblogname.com”. It should be easily memorable, preferably relevant to your blog topic and reflective of your brand. You can use a tool like Namecheap or GoDaddy to determine which names are available. Register that name through your hosting provider-you’ll hear the word ‘hosting’ a lot from now on, so just keep that in mind while we’re discussing it in detail and know you may get free domains with a hosting package from your provider.
2. Select a Reliable Hosting Provider
A hosting provider will hold the files for your website and host your blog on the internet. For beginners, the most popular options include Bluehost, SiteGround, and Hostinger, offering plans that aren’t too expensive and have easy WordPress installation processes. Some of them have one-click setup for WordPress installations, thus saving the user precious time having an easier experience. You are going to be required to select a hosting plan, register a domain name if you haven’t already done so, and then follow the setup.
Also Read: Why Do Most Bloggers Use WordPress? Key Features and Benefits Explained
3. Install WordPress with One-Click Setup
After registering to a hosting service, you will have to install WordPress. Many hosts possess the feature called “one-click install,” which, after clicking, all happens automatically, following the instalation prompts from WordPress concerning your domain. On completing the instalation, you will get your WordPress login details.
- Go to your hosting dashboard.
- Look for the “WordPress” or “One-click install” option.
- Follow the setup instructions to install WordPress on your domain.
4. Choose a Theme
A WordPress theme runs your blog’s look and feel. You’ll find hundreds of free themes in the WordPress theme directory. To access them:
- Log into your WordPress dashboard.
- Go to Appearance > Themes.
- Browse or search for a theme you like, then click Install and Activate.
Consider a very basic responsive theme-one that looks cool on phones and desktops. A couple of favorites for newbies are Astra and Neve, offering a lot of customization possibilities and its clean design.
5. Customize Your Blog
_INSTALLING A PLUGIN_ In the “Plugins” item, under “Add New, search for the name of the plugin you are looking for and click the “Install and Activate” option.
6. Install Essential Plugins
Plugins are essentially additional tools that add extra functionality to your WordPress blog. Some absolute must-haves for beginners include:
- Yoast SEO: Helps optimize your blog for search engines.
- Akismet Anti-Spam: Protects against spam comments.
- Jetpack: Offers security, performance, and design tools.
For your installation of the plugins you go to Plugins > Add New, typing in the name of the plugin, then click to Install and Activate.
Also Read: The Ultimate List of Blogging Tips You Need to Know to Succeed in a Competitive Market
7. Create Your First Blog Post
Now, you are ready to rock with your first post. You should be able to find Posts > Add New from the WordPress dashboard. There, you should start writing away. The built-in editor lets you format and add images before publishing the post.
Final Thoughts
It can take under 30 minutes to have your WordPress blog up and going if you know the right instructions. You will have a working blog ready to pour out all your ideas and creativity. Take that first step, put your blog on the web, and start connecting with your audience!


